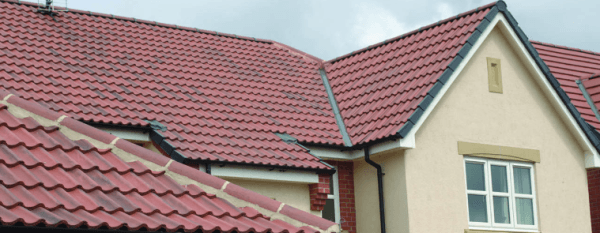
Your roof works hard all year round, protecting your home from wind, rain and everything in between. But unless there’s a leak, it’s easy to forget about it. A simple roof inspection can help spot small issues early, before they turn into costly repairs.
From ground level, keep an eye out for cracked or missing tiles, slipped tiles, moss build-up or uneven areas. Inside, damp patches on ceilings or in the loft can also be a sign that your roof needs attention.
The Importance of Quality Roofing Materials
If repairs are needed, choosing reliable materials is key. Marley Roofing offers a wide range of trusted products to suit both traditional and modern homes. Marley Modern tiles are a popular choice, offering a clean, contemporary look alongside long-lasting performance.
It’s also worth thinking ahead. Marley Solar integrates neatly into the roof, providing a smart way to improve energy efficiency without compromising on appearance.
Spotted Damage? Act Quickly
A cracked or missing tile may seem minor, but it can quickly lead to water ingress and further damage. Getting it checked and repaired early can save time, money and hassle.
Need Advice?
If you’re unsure about your roof or need help sourcing the right materials, visit us in-store or give our friendly and experienced team a call. We’re here to help you keep your roof safe and secure.
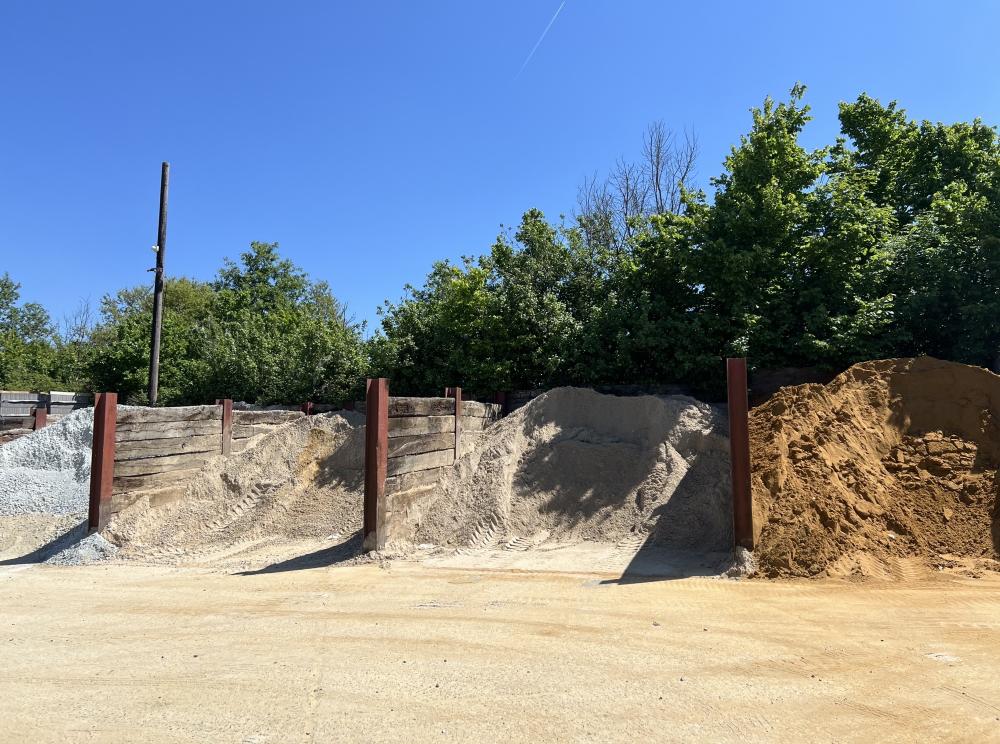
Loose aggregates are the unsung heroes of every building and landscaping job — cheap, simple and endlessly useful. Picking the right one saves time, improves results and keeps projects on budget. Below we are six of the most common loose aggregates you’ll see on site — Building Sand, Sharp Sand, Ballast, Soft Washed Sand, MOT (Type 1) and Pea Shingle — what each one does best, and the UK industry trends you should know about right now.
Building sand
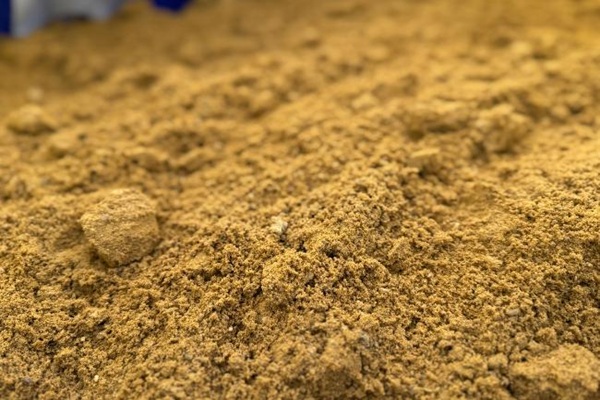
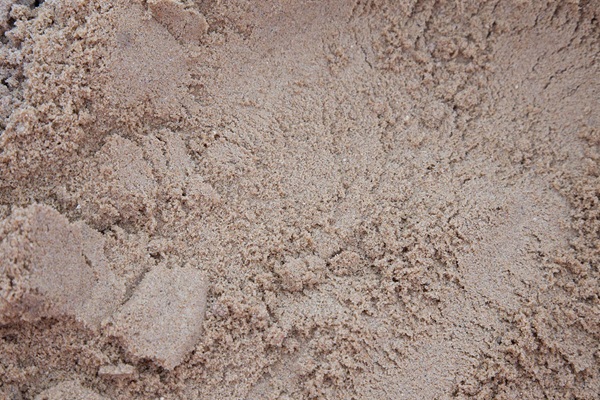
A fine, soft sand with small, smooth grains. It mixes easily with cement to make mortar that’s workable and forgiving for laying bricks, pointing and plaster repairs. Because it contains finer particles and a little natural clay, it grips well and gives a smoother finish than coarser sands.
Advantages and typical uses: ideal for bricklaying, internal plaster repairs and softer finishing mortars where ease of use and a neat finish matter. It’s not the best choice where you need grit and drainage — it will retain more water than sharper sands.
Sharp sand
Sharp sand (also called grit sand) has larger, angular grains and a gritty texture. It’s available washed or dry-screened; washed sharp sand has had silt and dust removed and is better for concrete or paving work.
Advantages and typical uses: excellent for concrete mixes, bedding paving slabs and where drainage and mechanical strength are required. Because of its coarser texture it makes stronger, more durable mixes than building sand.
Ballast
A blended coarse aggregate, typically a mix of gravel (or crushed stone) and sharp sand. It’s supplied in sizes such as 10mm, 20mm and blended grades that are ready to mix with cement to make concrete.
Advantages and typical uses: the go-to for general concrete — footings, slabs, shed bases and steps. Ballast saves time because it’s a pre-blended aggregate suitable for robust structural concrete and large-volume pours.
Soft washed sand
Soft washed sand is a finely graded sand (commonly 0–2mm) that has been cleaned to remove dust and impurities. It’s specifically produced for mortar, rendering and plastering where a consistent, smooth finish and predictable mixing behavior are required.
Advantages and typical uses: perfect for making mortar to lay bricks and blocks, for rendering and internal plaster where a fine texture and good binder adhesion matter. Washed sands reduce the risk of contaminants affecting cement set and strength.
MOT (Type 1)
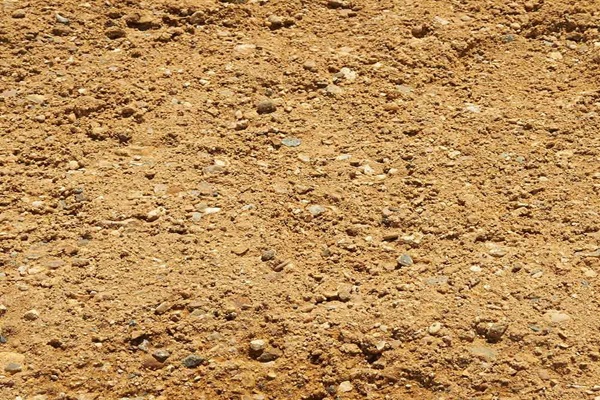
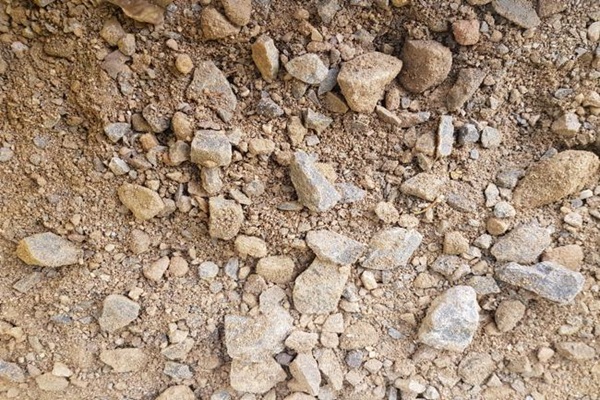
MOT Type 1 is a crushed, well-graded aggregate, typically a mix of sizes down to fines. It compacts to form a strong, load-bearing layer.
Advantages and typical uses: used as a structural sub-base for roads, driveways, hard-standings and foundation sub-bases where compaction and bearing strength are essential.
Pea shingle (pea gravel)
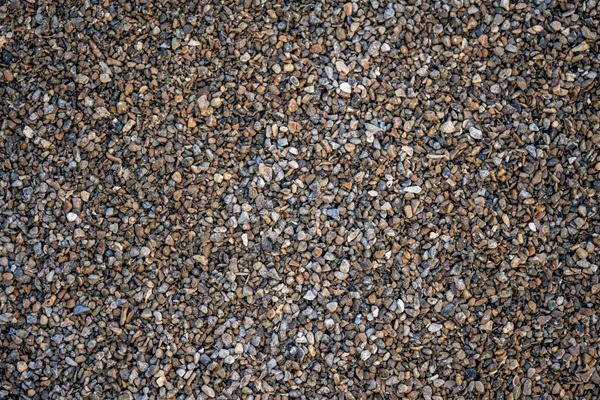
A small, rounded gravel (usually 4–8mm) often used for decorative finishes and drainage. Its smooth, rounded stones give a tidy, low-maintenance surface appearance.
Advantages and typical uses: great for decorative driveways, pathways, borders, weed suppression, and drainage layers around drainage pipes or in reed beds. It’s also widely used as a mulch in planting beds where appearance and water retention control are important.
Current UK trends you should know about
The aggregates industry in the UK is rapidly embracing sustainability. Recycled and secondary aggregates now make up a growing share of the market, as contractors look to reduce environmental impact while meeting performance specifications. You’ll also find a surge in demand for decorative aggregates — pea shingle and coloured gravels are especially popular for landscaping and driveway projects. Investment in recycling facilities is making high-quality recycled MOT Type 1 and sub-bases easier to source, helping builders and landscapers balance cost, performance, and environmental responsibility.
Final thought
Loose aggregates might look simple, but choosing the right one makes all the difference in durability, appearance, and cost-effectiveness. Whether you’re laying a driveway, building a patio, or mixing mortar for a wall, understanding your options ensures a better result.
Visit Chandler Materials for your loose aggregate needs
At Chandler Materials, we stock Building Sand, Sharp Sand, Ballast, Soft Washed Sand, MOT Type 1 and Pea Shingle in a range of sizes — all available for collection or with local delivery. Our knowledgeable team can advise on the right aggregate for your project and ensure you get exactly what you need, when you need it.
Pop into our Chelmsford branch today or get in touch with our friendly team to discuss your project — we’re here to help you build it right.
If you’re a landscaper, builder, or retailer looking for a decking solution that’s low-maintenance, long-lasting, and easy to install—composite decking is the way to go. At Chandler Materials, we supply both Millboard and NewTechWood, two of the most popular brands in the market, each offering a stylish and durable finish with straightforward installation processes.
Let’s break it down with a quick guide on how to lay each, and what makes them slightly different from one another.
What is Composite Decking?
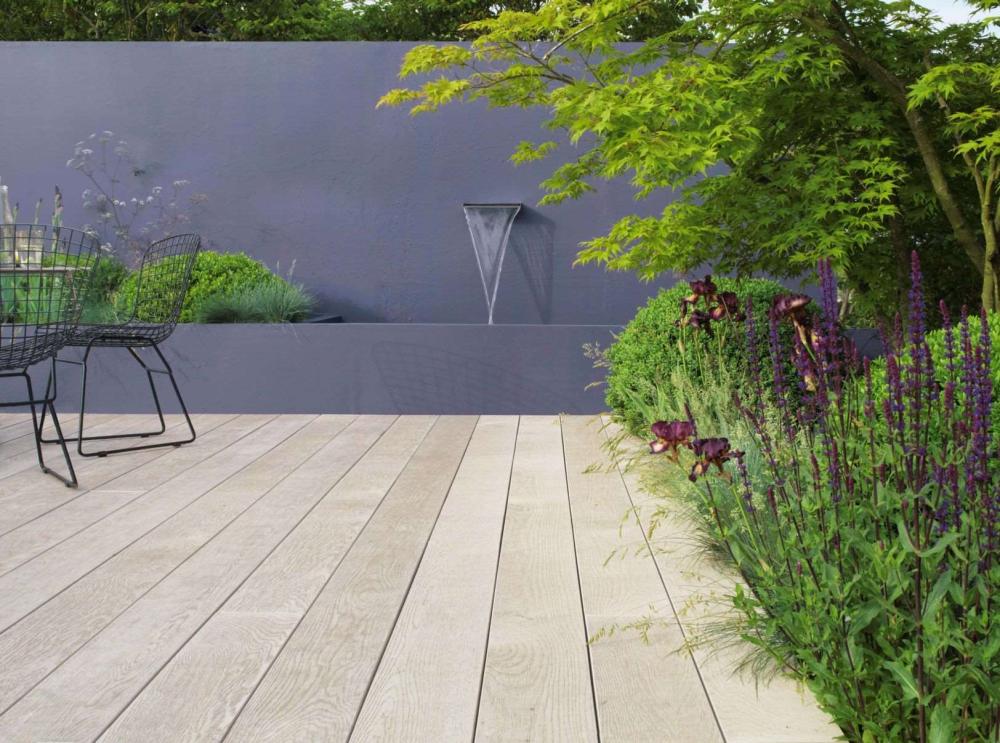
Composite decking is made from a blend of materials (usually recycled wood fibres and plastics), making it more resistant to weathering, warping, or rot than traditional timber decking. It also looks great—available in a range of natural tones and textures.
Quick Guide to Laying Composite Decking
Here’s a simplified step-by-step to get your deck laid fast:
Plan Your Deck Area Measure out your space and mark where your joists will go. Good airflow underneath is essential.
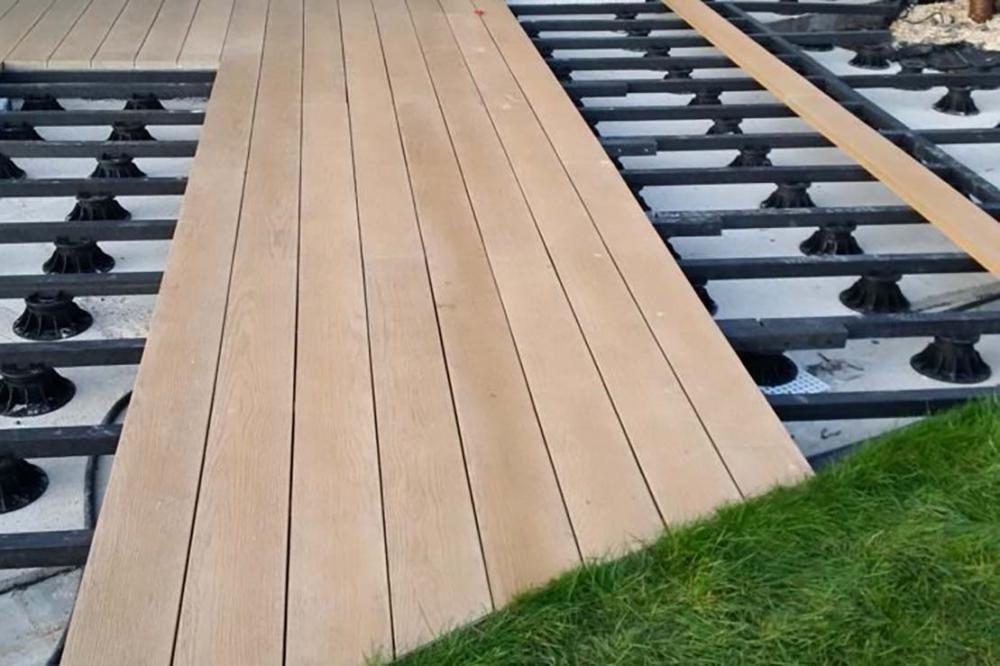
Prepare Your Base Use a solid, level subframe. Either timber or composite joists work, depending on the product spec.
Fix Your Joists in Place Joists should be spaced according to the brand’s requirements—Millboard and NewTechWood vary slightly here (see below).
Lay the Deck Boards Start from one side and use the correct fixings. Boards are typically fixed using hidden clips or stainless screws (no visible screws = sleek finish).
Leave Expansion Gaps Always allow for a small gap between boards to handle expansion and drainage.
Add Edging and Finishing Touches Use edging trims or fascia boards for a tidy, professional finish.
Millboard vs. NewTechWood – What’s Different?
Millboard is hand-moulded from real oak and features a unique polyurethane resin core. It’s fixed directly through the board using Durafix® screws, which leave virtually no visible marks—no clips needed. Joist spacing is typically 400mm centres. Click here to see how simple installing with Millboard really is!
NewTechWood uses a fully capped composite system and is installed using a hidden clip system. The clip design allows for a consistent gap between boards and quick, even installation. Joist centres should be 300–350mm depending on the direction of the board. Click here to watch a video on NewTechWood’s easy installation set-up.
Both are easy to work with, require no staining or sealing, and are backed by strong manufacturer warranties.
Want to See the Colours in Real Life?
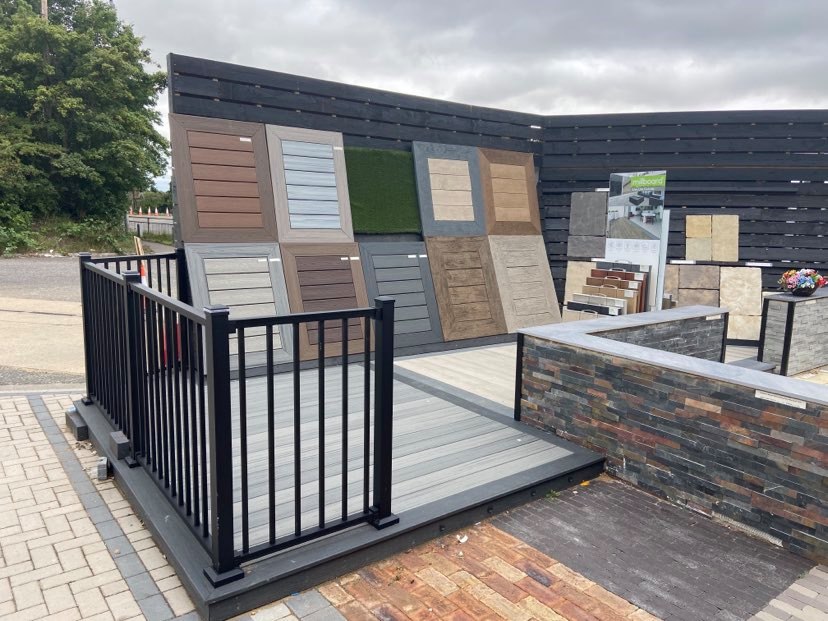
Visit our walk-on landscaping display at Chandler Materials and see the full range of Millboard and NewTechWood decking colours and finishes. It’s the best way to visualise the finished product—and you can collect a free product sample while you’re there!
Whether you’re quoting for a garden makeover, fitting a patio for a customer, or looking to stock a premium product in your store, Millboard and NewTechWood composite decking make the job easy from start to finish.
Essex Youth Build plays a vital role in supporting young people across Essex by giving them the opportunity to learn practical construction skills, gain confidence and take positive steps towards long-term employment within the building industry. Their work focuses on engaging young people who may be facing barriers to education or employment, helping them develop hands-on trade skills while building a stronger future for themselves and their local communities.
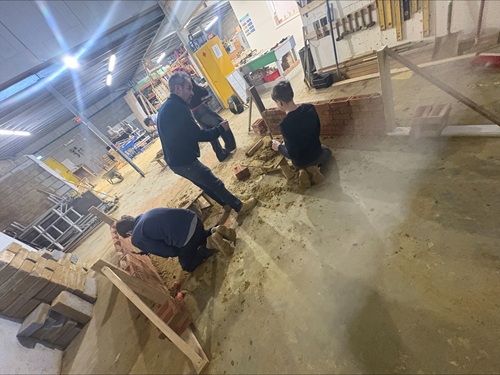
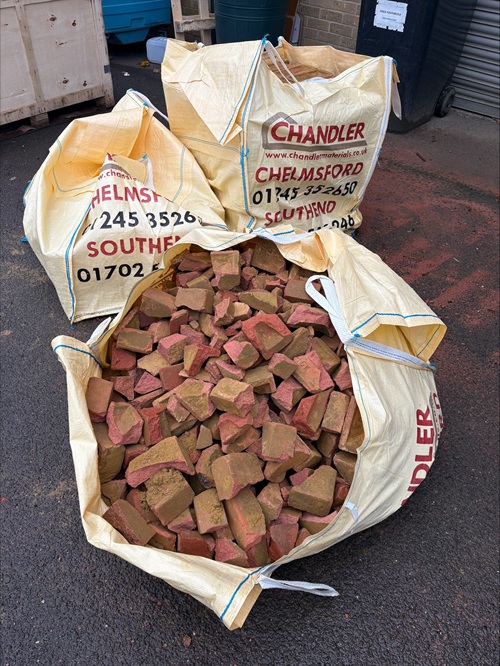
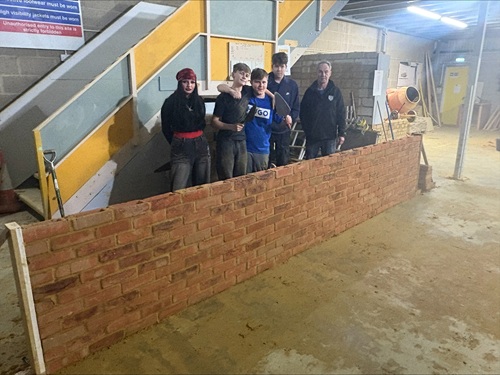
We are proud to support Essex Youth Build with a recent donation of a full pallet of bricks, delivered directly to assist them as they begin practical learning sessions. This donation will allow students to start developing essential skills such as bricklaying, setting out and understanding materials, all under real-world conditions that mirror the demands of working on site. Having access to proper materials is crucial when learning a trade and we are pleased to help remove that barrier so training can begin immediately.
Essex Youth Build is about more than just teaching construction techniques. The charity provides mentoring, structure, and encouragement, helping young people build self-belief alongside technical ability. By combining hands-on training with guidance and support, they help participants gain recognised skills, improve employability and open doors to careers within the construction sector and related trades.
The importance of this work within the Essex area cannot be overstated. The construction industry continues to face skills shortages, while many young people are looking for meaningful career paths that offer stability, progression and pride in their work. Essex Youth Build helps bridge that gap by nurturing future tradespeople, supporting local employment, whilst strengthening the industry from the ground up.
At Chandler Materials, we believe in investing in the future of the trade. Supporting initiatives like Essex Youth Build aligns with our commitment to the industry and the communities we serve. This donation is just the beginning. We want to get involved wherever possible, offering support, materials and encouragement to help inspire the next generation of builders, tradespeople and skilled professionals.
By working together with organisations like Essex Youth Build, we can help create clear pathways into construction, pass on valuable skills and ensure the future of the industry remains strong across Essex for years to come.
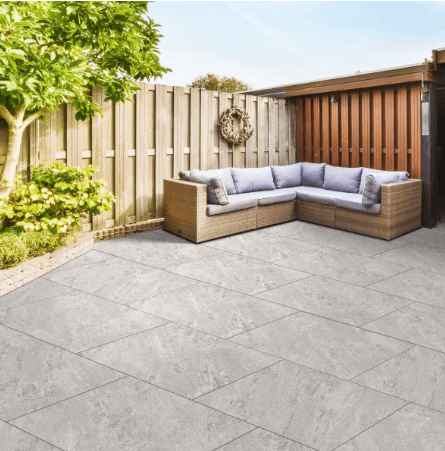
Laying porcelain paving in your garden is one of the most effective ways to create a clean, modern outdoor space that’s built to last. Known for its durability, low maintenance, and sleek appearance, porcelain has become a go-to choice for homeowners and landscapers across Essex. If you’re planning a garden transformation, this step-by-step guide will help you get it right first time.
Why Choose Porcelain Paving? Porcelain paving slabs offer a range of benefits that make them ideal for outdoor use. They are non-porous, meaning they resist stains, algae, and moss growth far better than traditional natural stone. Their consistent sizing and finish also make them easier to lay with a crisp, contemporary look. Plus, they’re incredibly hard-wearing and colourfast, so your patio will look great for years to come.
Tools & Materials You’ll Need Before you begin, make sure you have everything ready. This includes your porcelain slabs, a suitable sub-base material such as MOT Type 1, sharp sand or a mortar mix, a priming slurry, spirit level, rubber mallet, tile spacers, and a cutting tool suitable for porcelain.
Step 1: Prepare the Ground A solid foundation is crucial for any successful paving project. Start by excavating the area to a depth of around 150–200mm. Ensure the ground is level and compacted before laying your sub-base.
Add your MOT Type 1 sub-base in layers, compacting thoroughly as you go. This will prevent movement and ensure long-term stability. Aim for a finished sub-base depth of around 100mm.
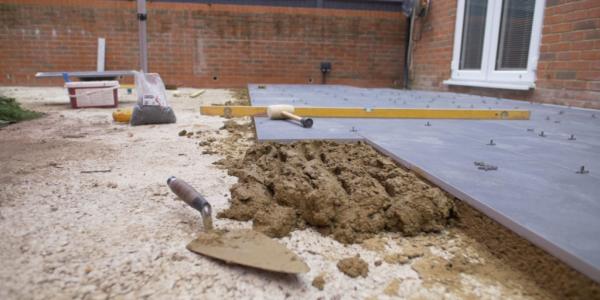
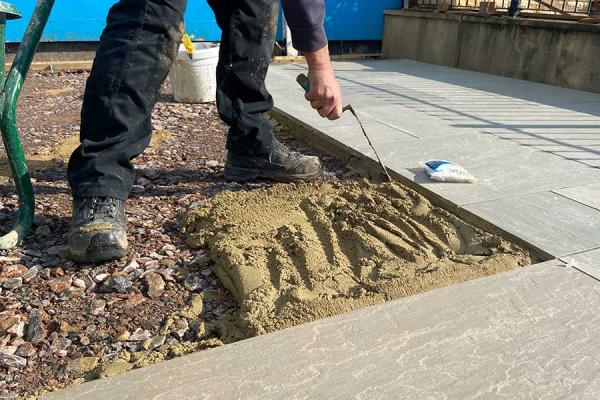
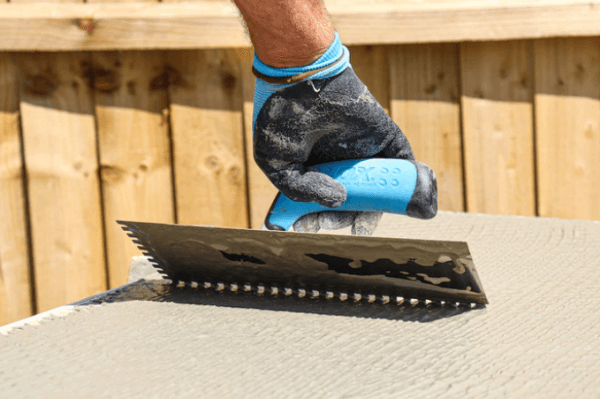
Step 2: Create a Full Mortar Bed Unlike some traditional paving methods, porcelain paving must be laid on a full mortar bed. This provides full support and prevents cracking.
Mix a strong mortar (typically 4:1 sharp sand to cement) and spread evenly to a thickness of around 30–40mm. Avoid spot bedding at all costs, as this can lead to weak points and future failures.
Step 3: Apply Priming Slurry This is one of the most important steps when laying porcelain paving. Because porcelain is non-porous, it won’t naturally bond with mortar.
Apply a priming slurry to the back of each slab just before laying it. This ensures a strong bond between the slab and the mortar bed, preventing lifting or movement over time.
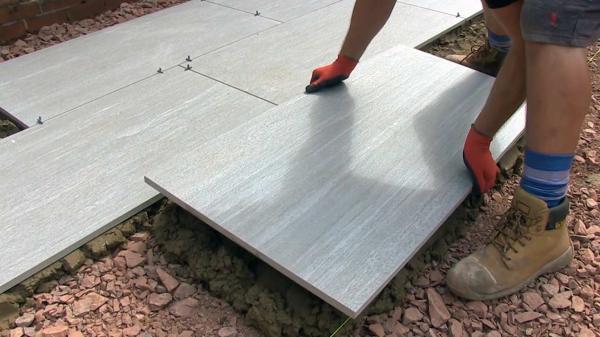
Step 4: Lay the Slabs Carefully place each slab onto the mortar bed, using spacers to maintain consistent joints (typically 3–5mm). Use a spirit level to ensure each slab is level and gently tap into place with a rubber mallet. Work methodically, checking levels regularly and maintaining a slight fall away from your property to allow for water drainage.
Step 5: Jointing Once the slabs have set (usually after 24 hours), it’s time to joint. Use a suitable porcelain jointing compound or grout, ensuring it is designed for narrow joints and external use. Brush the compound into the joints and follow the manufacturer’s instructions for finishing and curing.
Key Tips for Success – Take your time with preparation. A strong sub-base and full mortar bed are essential for long-lasting results. – Always use a priming slurry. Skipping this step is one of the most common mistakes. – Check levels constantly to avoid uneven slabs and water pooling. – Plan your layout in advance to minimise cuts and achieve the best visual finish. – Use the right tools, especially when cutting porcelain, as it is much harder than natural stone.
Common Mistakes to Avoid One of the biggest issues with porcelain paving is poor adhesion, usually caused by missing the priming slurry step. Another common mistake is spot bedding, which leads to unstable slabs. Rushing the groundwork or failing to allow proper drainage can also result in costly problems down the line.
Start Your Porcelain Paving Project Today Porcelain paving is an investment that can completely transform your outdoor space, adding both style and value to your home. Whether you’re a DIY enthusiast or a trade professional, getting the right materials and advice is key to achieving the perfect finish.
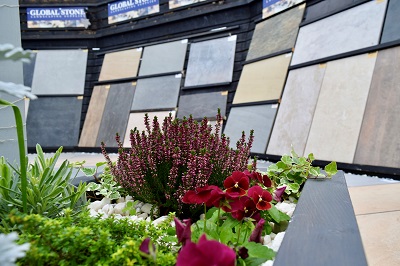
Visit us in-store to explore our range of porcelain paving displays and see the quality for yourself. Our team is on hand to offer expert advice and help you choose the right products for your project. Order now and get everything you need to bring your garden vision to life.