
No products in the Trolley.


How to Lay Porcelain Paving: A Step-by-Step Guide for a Modern Garden Transformation
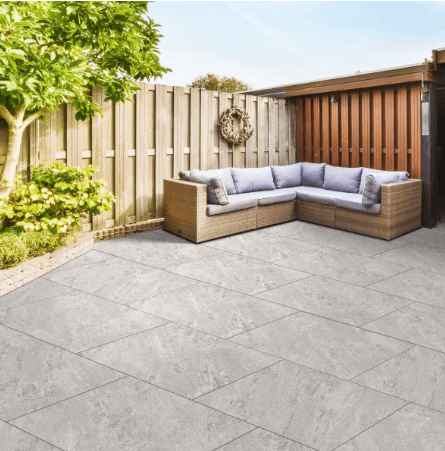
Laying porcelain paving in your garden is one of the most effective ways to create a clean, modern outdoor space that’s built to last. Known for its durability, low maintenance, and sleek appearance, porcelain has become a go-to choice for homeowners and landscapers across Essex. If you’re planning a garden transformation, this step-by-step guide will help you get it right first time.
Why Choose Porcelain Paving?
Porcelain paving slabs offer a range of benefits that make them ideal for outdoor use. They are non-porous, meaning they resist stains, algae, and moss growth far better than traditional natural stone. Their consistent sizing and finish also make them easier to lay with a crisp, contemporary look. Plus, they’re incredibly hard-wearing and colourfast, so your patio will look great for years to come.
Tools & Materials You’ll Need
Before you begin, make sure you have everything ready. This includes your porcelain slabs, a suitable sub-base material such as MOT Type 1, sharp sand or a mortar mix, a priming slurry, spirit level, rubber mallet, tile spacers, and a cutting tool suitable for porcelain.
Step 1: Prepare the Ground
A solid foundation is crucial for any successful paving project. Start by excavating the area to a depth of around 150–200mm. Ensure the ground is level and compacted before laying your sub-base.
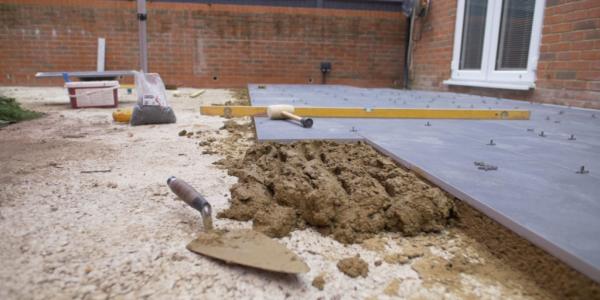
Add your MOT Type 1 sub-base in layers, compacting thoroughly as you go. This will prevent movement and ensure long-term stability. Aim for a finished sub-base depth of around 100mm.
Step 2: Create a Full Mortar Bed
Unlike some traditional paving methods, porcelain paving must be laid on a full mortar bed. This provides full support and prevents cracking.
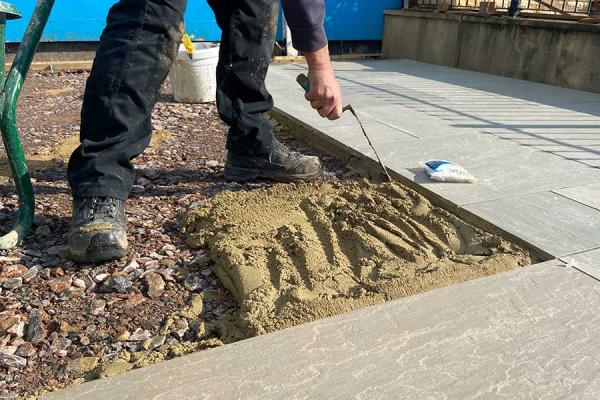
Mix a strong mortar (typically 4:1 sharp sand to cement) and spread evenly to a thickness of around 30–40mm. Avoid spot bedding at all costs, as this can lead to weak points and future failures.
Step 3: Apply Priming Slurry
This is one of the most important steps when laying porcelain paving. Because porcelain is non-porous, it won’t naturally bond with mortar.
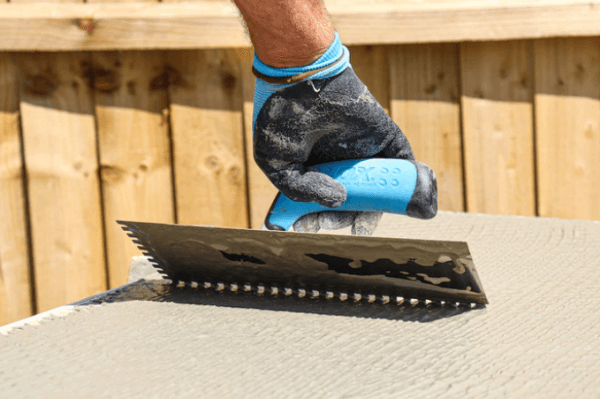
Apply a priming slurry to the back of each slab just before laying it. This ensures a strong bond between the slab and the mortar bed, preventing lifting or movement over time.
Step 4: Lay the Slabs
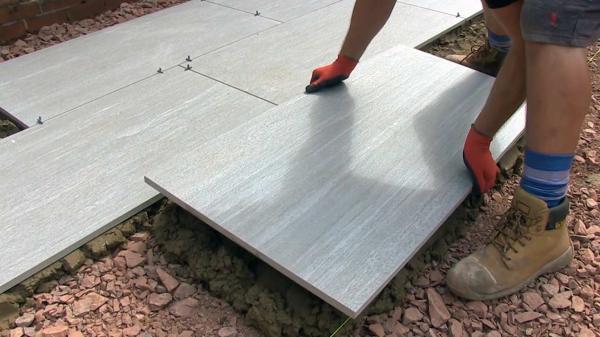
Carefully place each slab onto the mortar bed, using spacers to maintain consistent joints (typically 3–5mm). Use a spirit level to ensure each slab is level and gently tap into place with a rubber mallet.
Work methodically, checking levels regularly and maintaining a slight fall away from your property to allow for water drainage.
Step 5: Jointing
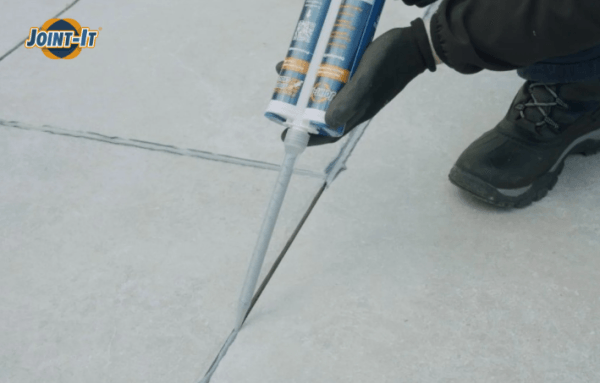
Once the slabs have set (usually after 24 hours), it’s time to joint. Use a suitable porcelain jointing compound or grout, ensuring it is designed for narrow joints and external use.
Brush the compound into the joints and follow the manufacturer’s instructions for finishing and curing.
Key Tips for Success
– Take your time with preparation. A strong sub-base and full mortar bed are essential for long-lasting results.
– Always use a priming slurry. Skipping this step is one of the most common mistakes.
– Check levels constantly to avoid uneven slabs and water pooling.
– Plan your layout in advance to minimise cuts and achieve the best visual finish.
– Use the right tools, especially when cutting porcelain, as it is much harder than natural stone.
Common Mistakes to Avoid
One of the biggest issues with porcelain paving is poor adhesion, usually caused by missing the priming slurry step. Another common mistake is spot bedding, which leads to unstable slabs. Rushing the groundwork or failing to allow proper drainage can also result in costly problems down the line.
Start Your Porcelain Paving Project Today
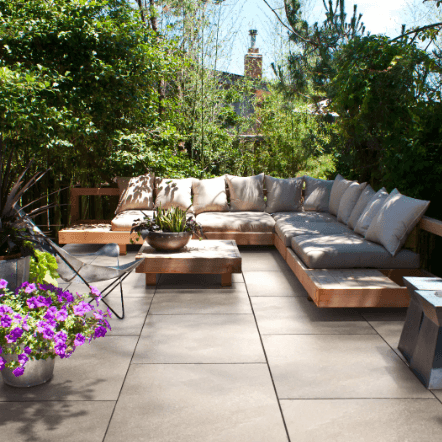
Porcelain paving is an investment that can completely transform your outdoor space, adding both style and value to your home. Whether you’re a DIY enthusiast or a trade professional, getting the right materials and advice is key to achieving the perfect finish.
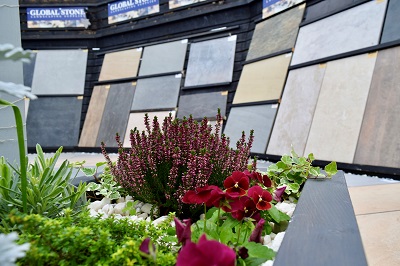
Visit us in-store to explore our range of porcelain paving displays and see the quality for yourself. Our team is on hand to offer expert advice and help you choose the right products for your project. Order now and get everything you need to bring your garden vision to life.
