No products in the Trolley.


Composite Decking Installation Guide
If you’re a landscaper, builder, or trade buyer looking for a decking solution that combines a professional finish with minimal ongoing maintenance, composite decking is hard to beat. At Essex TP Chandler we supply two of the leading composite decking brands, Ultrashield by NewTechWood and Millboard, both available to view on our walk-on displays at our Southend and Chelmsford locations
This composite decking installation guide covers everything you need to know: how to prepare your subframe, how to lay your deck boards, how to achieve the right expansion gap between boards, and where Ultrashield and Millboard differ in their installation process.
What Is Composite Decking?
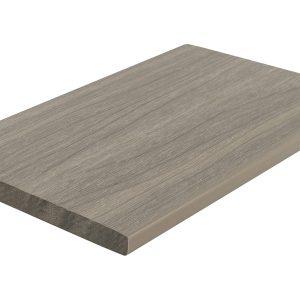
Composite decking is made from a blend of wood fibres and recycled plastics, engineered to outperform traditional timber decking in almost every way. It won’t warp, rot, or splinter, it requires no staining or sealing, and it holds its appearance year after year under heavy foot traffic and direct sunlight.
Both NewTechWood Millboard offer a range of composite decking finishes that closely replicate natural timber, without the upkeep.
How to Install Composite Decking: Step-by-Step
Plan Your Decking Area
Measure your space carefully and use a decking calculator to work out how many deck boards, joists, fixings, and trim pieces you’ll need. Mark out your joist positions and check the area is free from debris before you begin. Consider the direction your boards will run — this affects your joist layout and the overall look of the finished deck.
Prepare Your Base
A solid, level subframe is the foundation of any good composite decking installation. Remove the turf and any soft ground underneath, then lay your substructure on a concrete base or compacted hardcore. The decking frame must have a slight slope for drainage — typically a 1–2% fall away from any structure. This slope will allow water to run off freely and prevents pooling beneath the boards.
Build the Decking Frame
Fix your joists into position using joist hangers or direct fixing, depending on your substructure. Use a spirit level throughout to ensure everything is straight and true.
- Millboard: Joists should be spaced at 400mm centres
- NewTechWood: Joists should be spaced at 300–350mm centres, depending on board direction
- Joists need to be spaced correctly to provide adequate support across the length of the board and maintain the structural integrity of the finished deck. Where boards meet end-to-end, ensure there is a joist beneath each butt joint.
Lay Your First Board
Start from one straight edge and work across your decking area. Prior to installation, allow composite boards to acclimatise in the area where they’ll be fitted, particularly important in cold conditions. Fix your first board using the appropriate starter clips or fixings for your chosen product, maintaining the correct alignment from the outset.
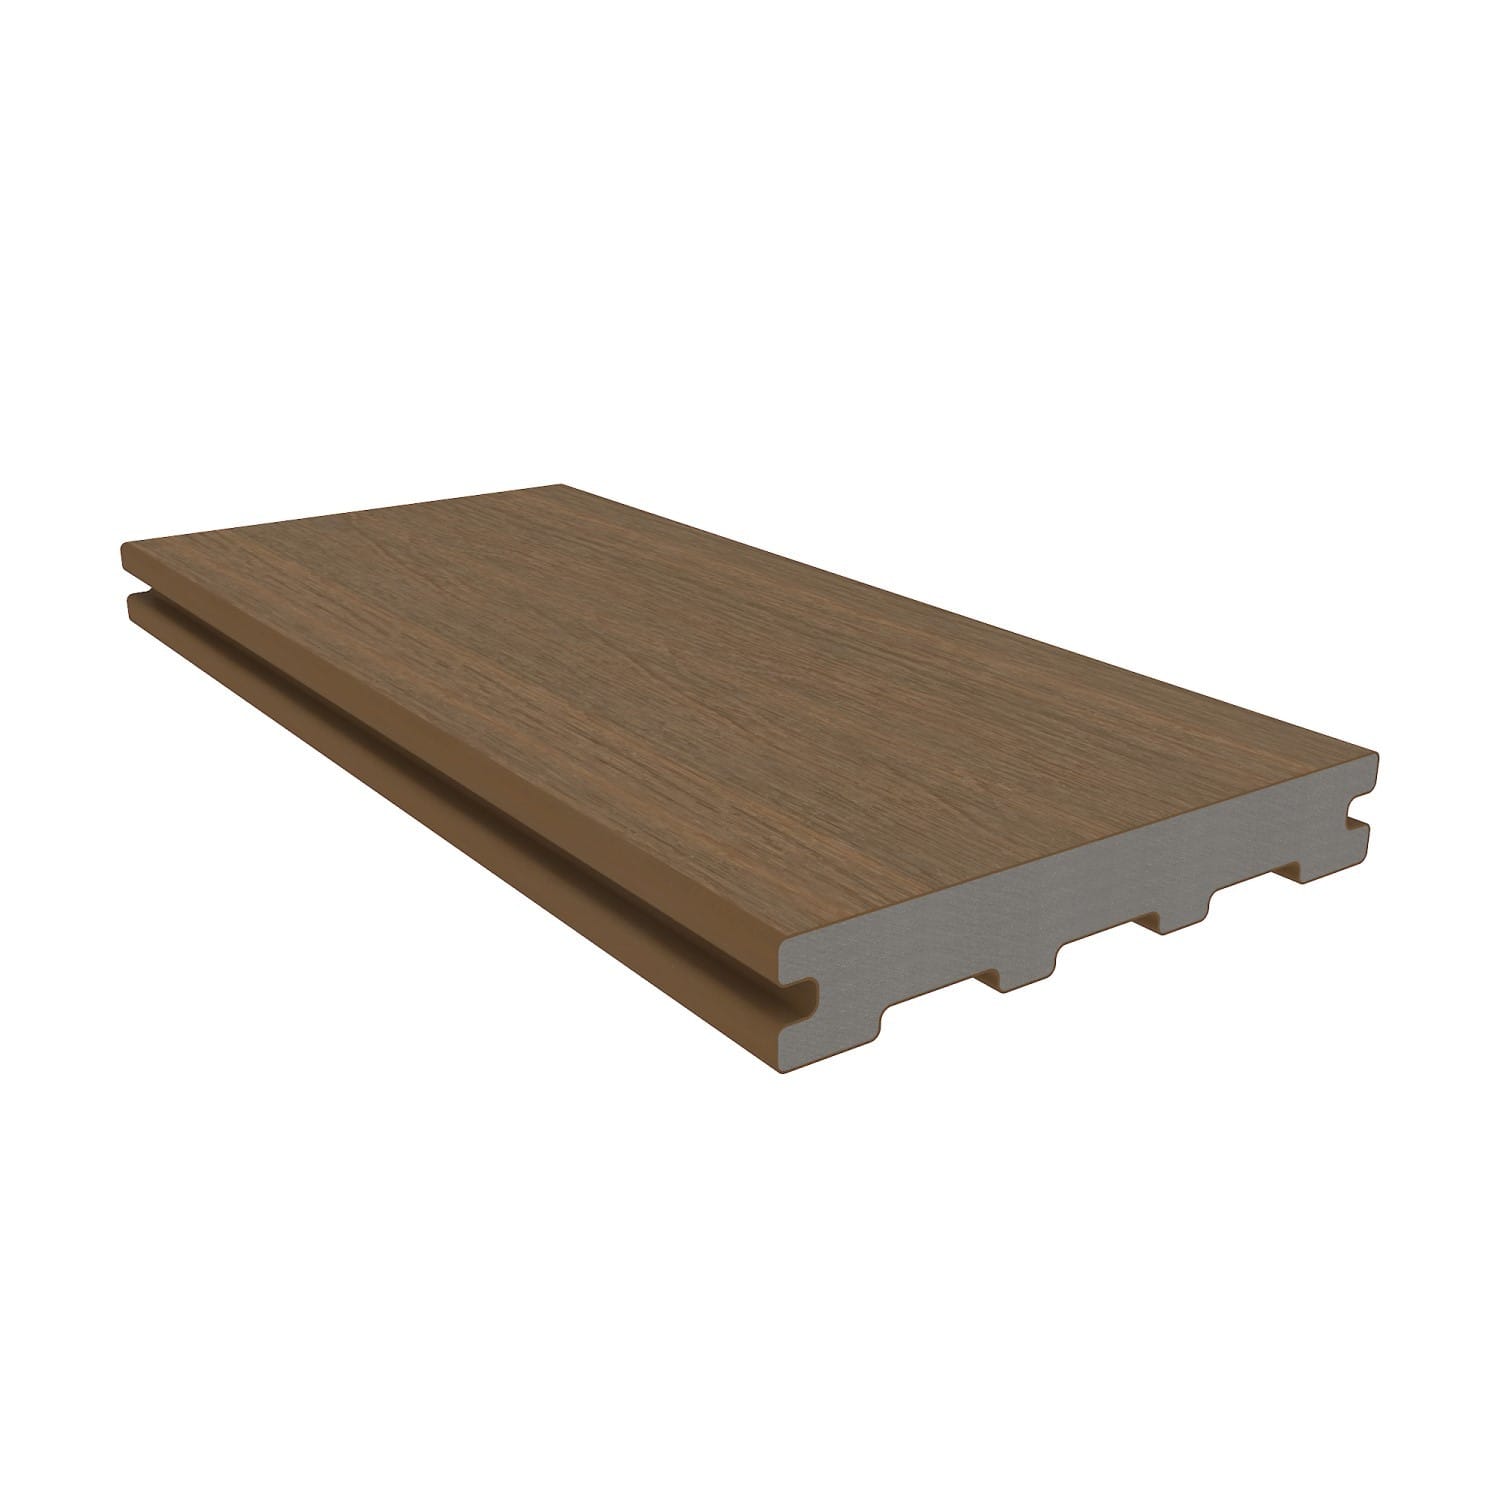
Fix the Deck Boards
Millboard boards are fixed directly through the board using Durafix® screws into every joist beneath. The screw head sits flush and leaves virtually no visible mark, no hidden fastener or clip is needed. This makes the installation process fast and straightforward. NewTechWood uses a hidden fastener system. A fixing clip is inserted into the groove of each board and fastened to the joist using 30mm screws. The next board then slots onto the clip, creating a consistent gap and locking the boards in place. This clip system means no screws are visible on the surface at all. For both systems:
- Maintain an expansion gap between boards, typically 5–6mm, to allow for expansion and contraction
- Use 50mm fixings where boards run perpendicular to joists
- Ensure boards are used with the correct side facing up per the manufacturer spec.
Measure and Cut
Use a straight edge and a fine-tooth saw blade to measure and cut boards to length at the end of each row. Always cut ends cleanly and treat any cut ends with the manufacturer’s recommended sealant where required. Wear appropriate protective equipment when cutting composite boards, as they can produce fine dust.
Add Edge Trims and Fascia Boards
A professional finish requires proper edging. Use fascia boards to cover the ends of your deck boards and exposed joist faces. Corner trim and bullnose boards are available for both Millboard and NewTechWood to create neat, finished edges on all sides. A skirt board around the base of the decking frame completes the look and prevents debris from accumulating underneath.
Decking Installation Tips for Trade
- Always check the manufacturer’s detailed instructions before starting — joist spacing and fixings vary between board lengths and weights
- Use a decking calculator to minimise waste
- Store boards flat and free from debris prior to installation
- On longer decking projects, stagger your butt joints for a more natural look and better structural integrity
- Spaced at 300mm intervals, additional noggins between joists will reduce flex on wider decks
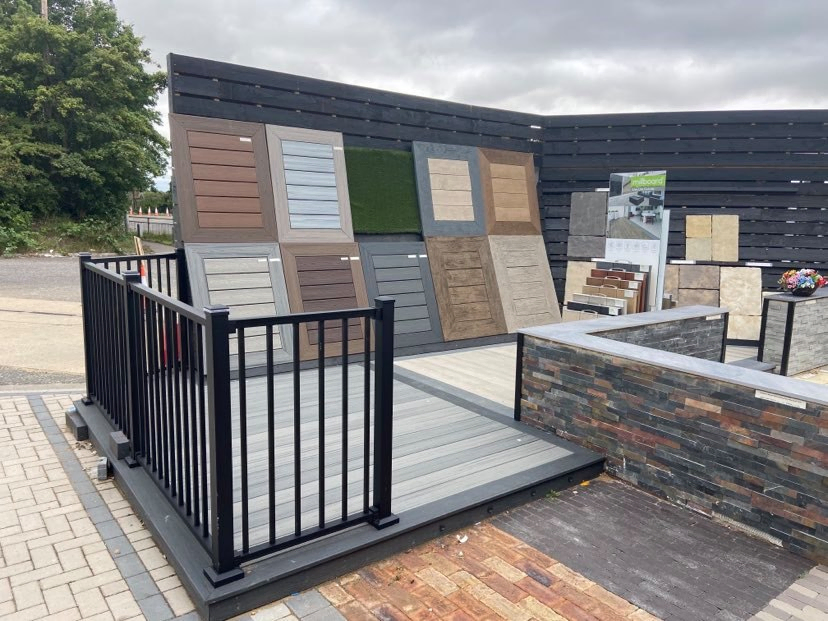
See the Full Range at our Southend branch Essex TP Chandler or Visit our Out Door Display at Chandler Materials Chelmsford
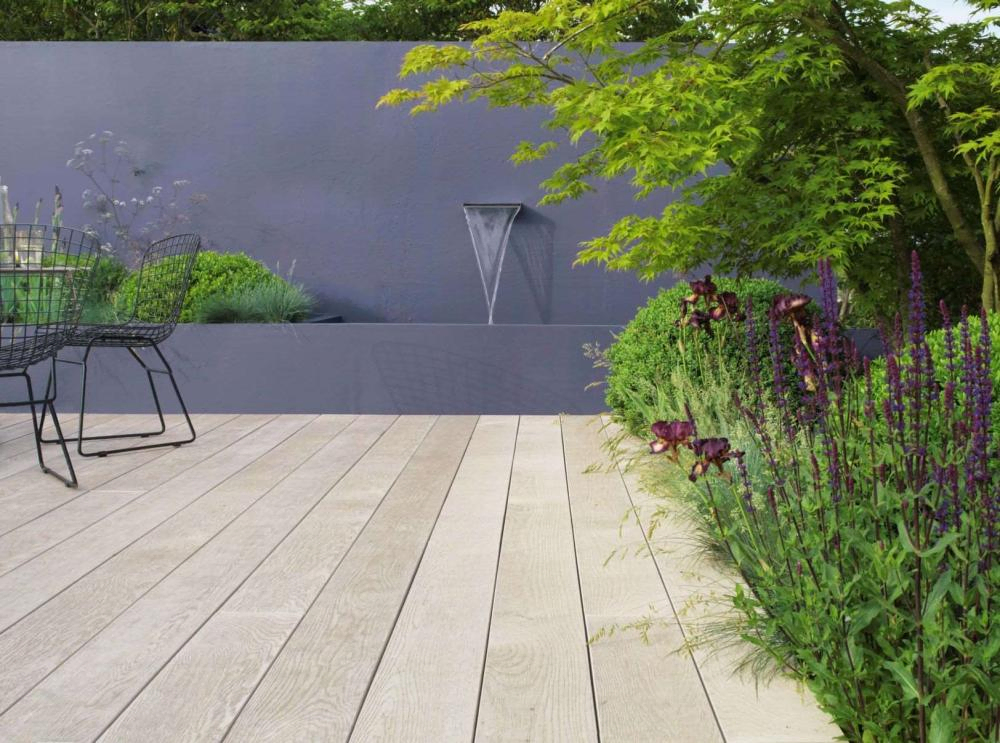
Visit our walk-on landscaping display to see Millboard and NewTechWood composite decking in person. Viewing the boards underfoot in real conditions is the best way to assess colour, texture, and finish before committing to a decking project.
Free samples are available ask in branch or get in touch to request yours.
Whether you’re fitting a composite deck for a single customer or looking to stock a premium decking product for your own supply chain, our team can help you choose the right product and get your order sorted quickly.